
In the heart of Spring, Texas, technology enthusiasts and everyday users alike often encounter the need to dive into the intricate world of motherboard repair. Whether you’re a seasoned techie or a curious beginner, understanding your motherboard’s ins and outs can save you time and money. In this guide, we’ll walk you through essential tips to help you master motherboard repair effortlessly.
Understanding the Role of the Motherboard
The motherboard is often considered the backbone of any computer system, housing the central processing unit (CPU), memory, and connectors for other crucial components. Understanding its role is the first step in mastering repairs. Its layout, function, and how it interacts with other parts are essential knowledge for any repair task.
Much like the human nervous system, the motherboard ensures that all connected components communicate seamlessly. From processing inputs to managing output, it’s the unsung hero in every device. Manufacturers have developed intricate designs and layouts for motherboards, each with unique attributes tailored to different needs. Whether it’s a gaming rig demanding high speed and reliability or a simple office desktop, the motherboard’s role is pivotal. By familiarizing yourself with the motherboard, you start to grasp the interplay of components that bring your device to life. This understanding is fundamental to diagnosing and repairing various issues that could arise during a computer’s lifespan.
One cannot overlook the historical evolution of the motherboard when grasping its current complexity. Originally introduced in the early 1980s, the motherboard has transformed from a basic piece of hardware to a sophisticated integration of cutting-edge technology. This evolution not only optimized performance but also paved the way for innovation, allowing users to enjoy seamless and powerful computing experiences today. Understanding how the motherboard has evolved can give you deeper insights into the challenges and advancements in modern computing systems.
Essential Tools for Motherboard Repair
Before you begin any repair work, having the right tools at your disposal is crucial. Common tools include screwdrivers, anti-static wrist straps, magnifying glasses, and thermal paste. Each tool plays a vital role in ensuring that you can safely and effectively work on your motherboard.
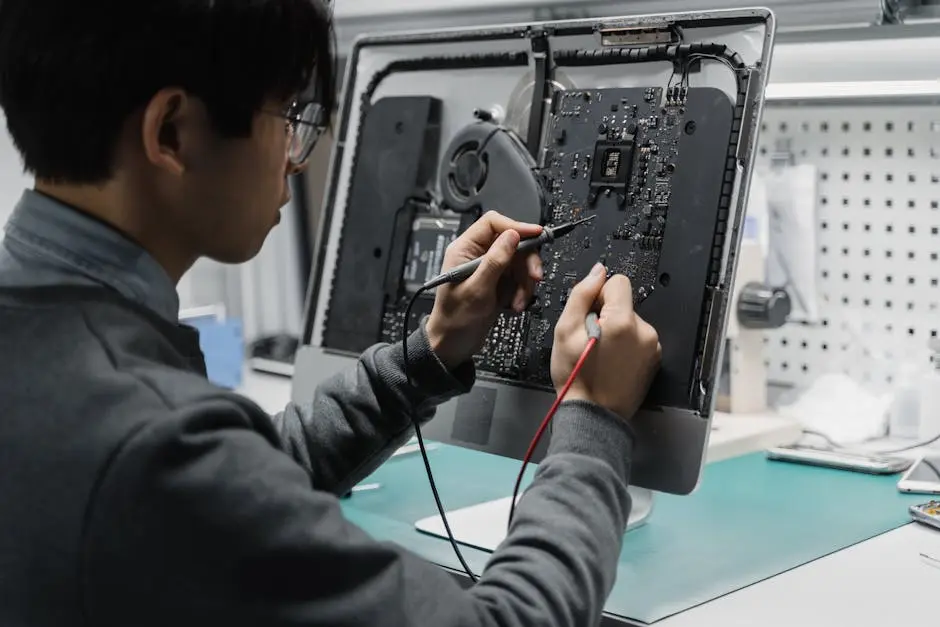
Alongside the basics, investing in a multimeter can be invaluable for diagnosing electrical issues. This tool allows you to measure voltage, current, and resistance, helping pinpoint problems like faulty capacitors or disrupted power traces. Precision also matters not only in diagnosis but in repair. Fine-tipped soldering irons are indispensable when working with delicate components or fixing broken traces. Their precision mitigates the risk of accidental damage to surrounding circuitry. Moreover, anti-static mats help prevent electrostatic discharge (ESD), which can irreversibly damage sensitive electronic parts. Using these specialized tools ensures your motherboard repair process is as efficient and risk-free as possible, equipping you to handle a wide range of common motherboard issues.
Identifying Common Motherboard Issues
Motherboards can experience a range of problems, from physical damage to electronic failures. Some common issues include overheating, faulty RAM slots, or dead capacitors. Learning how to diagnose these problems can help you determine the right approach for repair.
One of the most alarming yet common symptoms of motherboard issues is the ‘blue screen of death.’ Often signaling a variety of hardware problems, this symptom necessitates a quick and accurate diagnosis. Overheating can exacerbate these failures, causing not just operational shut-down but permanent damage if ignored. So, how do you diagnose such issues effectively? Start by downloading diagnostic software to get real-time statistics on your components’ performance and temperature thresholds. These tools can reveal whether components like the RAM or GPU are working beyond their limits or are properly synchronized with the CPU. For more physical indicators, visually inspect for signs like burnt circuitry or bulging capacitors, which often require immediate attention.
Sometimes, motherboard issues can masquerade as other problems. Unstable network connectivity, for instance, could be linked to motherboard issues like damaged Ethernet ports or corrupted motherboard drivers. Similarly, frequent USB disconnections could point to underlying power distribution problems on the board. The key is to listen to your machine, metaphorically speaking, and recognize changes in how it operates. Paying attention to unusual noises, or sudden performance drops, can often be the first sign of impending motherboard troubles.
Basic Repair Techniques
Once you’ve diagnosed the issue, applying the appropriate repair technique is crucial. Basic techniques include reseating components, cleaning dust build-up, and replacing burnt-out capacitors. Step-by-step guidance can make these tasks approachable, even for beginners.
Start with the simple step of reseating components. Sometimes, the mere act of removing and reinstalling RAM or other hardware can resolve connectivity issues that stem from improperly seated components. Furthermore, dust is an enemy of electronics, causing both overheating and shorts. Regular clean-ups using compressed air can help maintain your motherboard’s optimal performance. When dealing with electrical components like capacitors, replacement is often necessary. Soldering a new capacitor requires careful attention to its polarity and ratings to ensure it functions properly. These straightforward techniques can tackle many common problems, preventing minor issues from escalating into costly repairs.
When to Seek Professional Help
While DIY repairs can handle many common issues, some problems require professional intervention. Recognizing when it’s time to consult a specialist can save you from costly mistakes and ensure your motherboard receives the care it needs.
Complex issues, such as those involving the BIOS or extensive physical damage to the motherboard, often necessitate professional expertise. The intricacies involved in advanced diagnostics and repairs can be overwhelming without specialized tools or skills. For instance, attempting to update or repair the BIOS without expertise might render your system unbootable. Similarly, mishandling minute components or sensitive circuitry can lead to irreparable damage. By seeking help when needed, you’re ensuring that your motherboard—and thereby your device—remains in optimal working condition, sparing you from future headaches and expenses.
When faced with mysterious and persistent issues that resist typical troubleshooting, a specialist can provide the insights and solutions you need. Experienced professionals have the advantage of both sophisticated diagnostic tools and a wealth of practical knowledge. They can quickly distinguish between a minor glitch and a significant fault, offering you the best course of action. Furthermore, professional services often include a warranty, providing peace of mind that your device is covered in case further problems arise. Turning to expert help is not a defeat, but rather a wise and strategic approach to sophisticated motherboard issues.
Empower Your Tech Journey with DIY Motherboard Repair
By taking the time to understand the basics of motherboard repair, you’ll empower yourself to handle common issues and maintain your hardware effectively. The knowledge you gain not only enhances your tech skills but also ensures your devices run smoothly for years to come. So, the next time you face a motherboard mishap, you’ll be ready to tackle it confidently.

